NEW BLOG!

This is an out of date blog, for these posts and all current projects please head over to

I'm Topsy Turvy

for any interest in ordering cakes please head to

topsy turvy cakes

June 30, 2009

Finally another cake!

This "cake" blog hasn't had a lot of cakes in the last little bit. But I hope you guys don't mind that I've included some of the other foods I've enjoyed making. But back to real reason we're here: CAKES!

This one was a job, which I've been turning down lately because my husband had been living in another town because of work. But he recently got let go (sad) so he's living with us again (happy!). So I was able to take this job when it came along.
A law firm actually hired me to make a cake for a retirement party for a local county judge. They were VERY specific in some of the instructions they had. A large sheet cake with a Ford Explorer on it and Firestone tires. But they didn't care about color, or what I made it out of etc... It seemed the tire was the important part, so I suggested a cute carved, fondant covered tire cake, but nope... Sheet cake. Ugh, I don't even have a sheet cake pan. Oh well!
So I found this image and decided to go for it.
I decided to use fondant and layer it to create a slightly 3D look to this 2D image. The first layer was black, and I airbrushed pearl where the windows would be. Then the red layer (a real pain, I had to do it 3 times before it worked. Also the wheels. Finally the bumpers, grill, lights, handles, explorer plate, etc... And last the Ford logo! I used gold and silver and pearl airbrushing to try to make it more realistic.
It took WAY too long, but in the end I was really happy with it. I ended up using a few doll hairs to make my own tiny paint brush to paint the Firestone wording onto the tires. Also the tiny explorer plate turned out GREAT! The only part I wasn't super happy with was the Ford nameplate. In the end the perfectionist in me was pleased enough. With any cake there is always something I wish I could change, and that is certainly true of this cake. But it actually turned out much better than I originally thought it could/would! So yeah! Happy happy!
SUV cake fondant sheet cake buttercream

June 27, 2009

Canning!!!

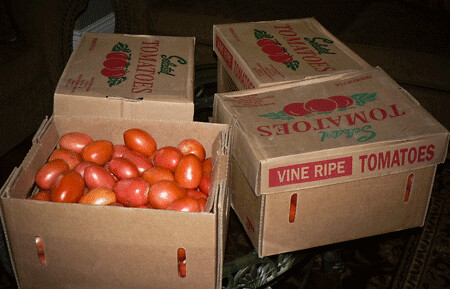
Our church places a huge emphasis on food storage, and that leads to a lot of canning. Although my mom never ever EVER canned. So I never learned and it seemed very daunting. I've always wanted to try, but I'm not really a jam eater, or fruits and veggies for that matter. So I never thought there was anything for me to can. But when my close friend bought a pressure cooker and decided to try it I thought I would join her. And when the opportunity came up for 60 lbs of organic tomatoes (each) we decided to make a day of it (that turned into two!)
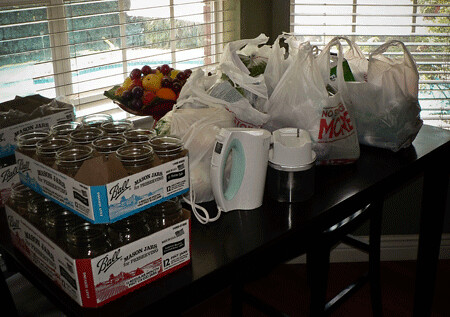
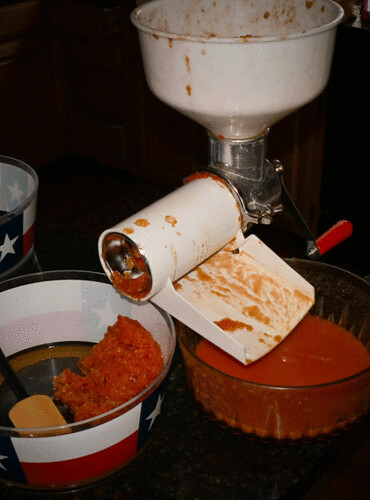
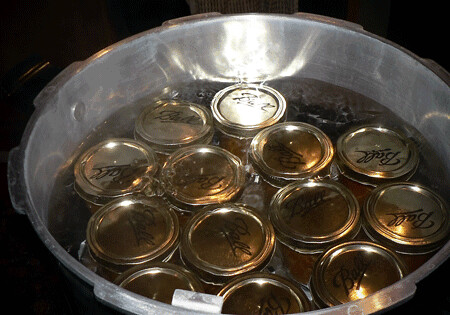
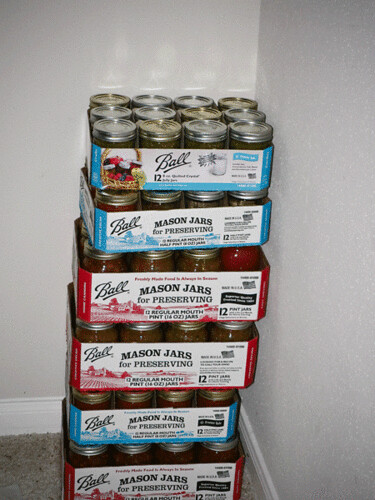
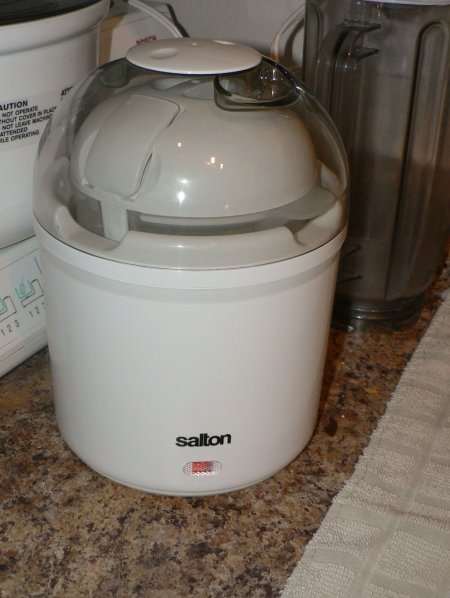
Here are my supplies (above) and our tomatoes (below).
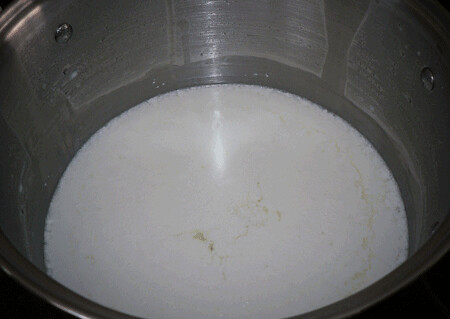
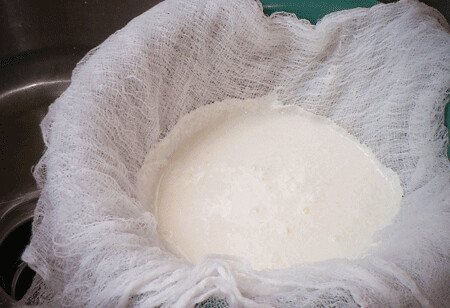
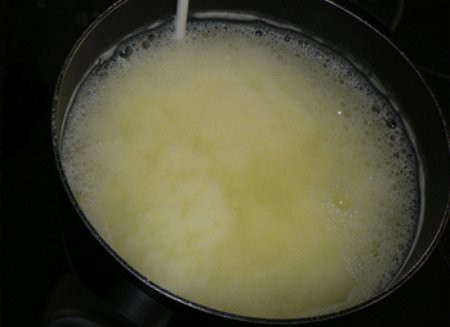
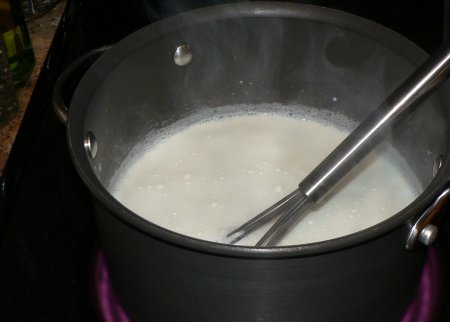
The first thing we decided to make was pizza sauce, it had to simmer for awhile so we figured we should start it first. It was a LONG process. First boiling tomatoes then straining them to get rid of the seeds and peels. It was long and messy.
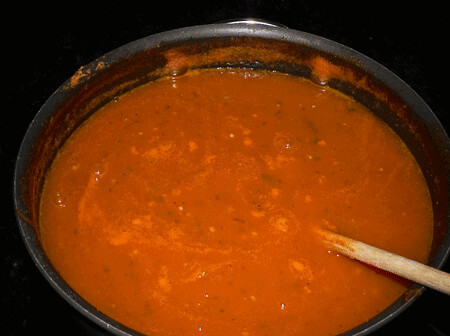
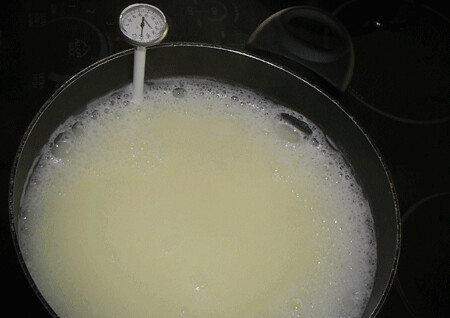
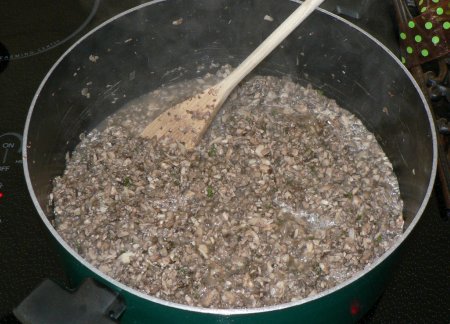
THEN adding the herbs/spices and boiling/simmering it down to HALF. We thought it would take a few hours, but it turned into like 6-8 hours! It was 2 am before I was done! CRAZY! Looks good though, huh?
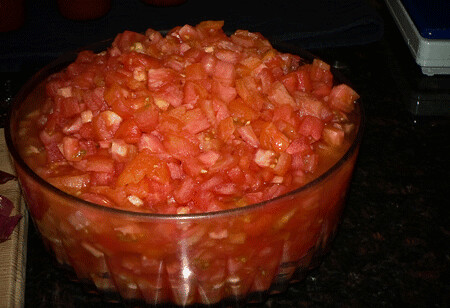
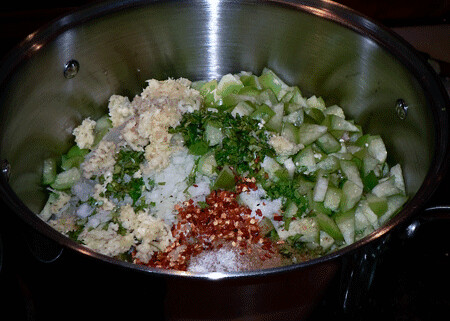
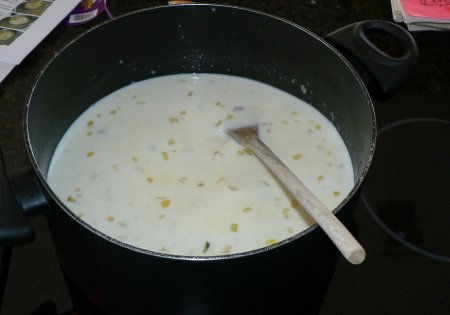
While that was simmering away we decided to make a salsa. Check out all these chopped tomatoes! Looks good huh? (not really, I don't even LIKE tomatoes! But I like tomato based stuff like what we're making).
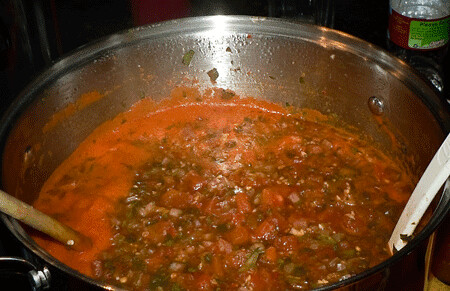
This one was a Spicy Salsa. Neither of us are into chunky salsa, but that's what the canning book called for. We couldn't risk blending it up and messing with the balance for canning purposes. So we'll blend it up when we open them (hoping that we'll actually HAVE power and a blender when we open them and it isn't the "last" days, he he he!)
This was not pressure canning, but water canning???? I don't really understand it all, but just followed the instructions!
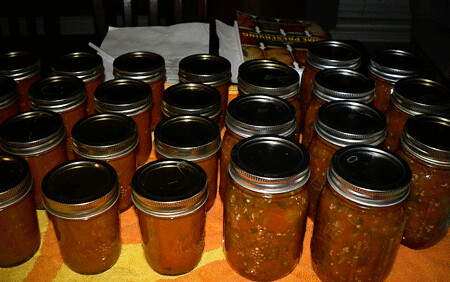
Here are the first day's cans, pizza sauce, and spicy salsa!
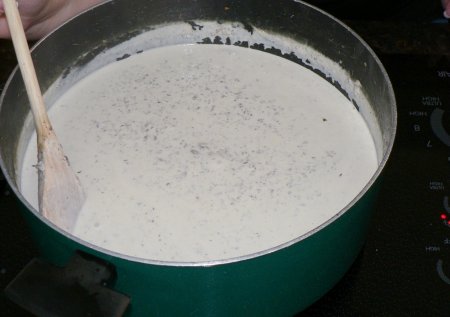
The next day went MUCH faster, this was the Zesty Salsa! And with that I was out of tomatoes (I did double batches of my three recipes.)
And finally we ended our canning run with a tomatillo salsa! This one we made together and it went AMAZINGLY fast. We probably should have done a few of the others together, oh well, live and learn.
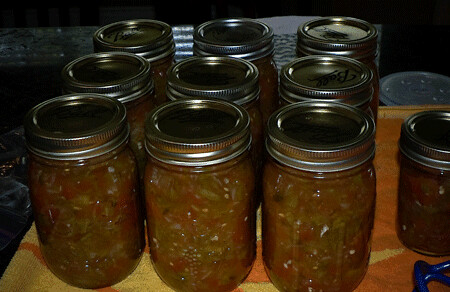
And the end product of two days, it doesn't look like much, but we don't go through that much salsa, so it is at least a years worth (they only last a year, so it IS a year supply whether we eat it all or not). And we make a lot of white pizza, but not red, so that will be fun too! Yeah for me!
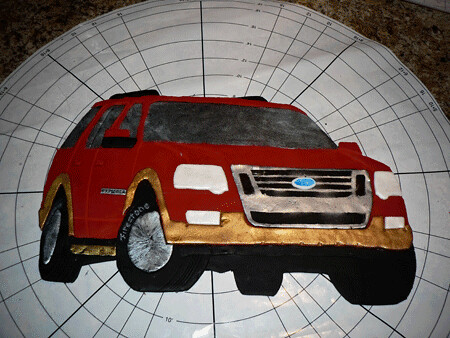
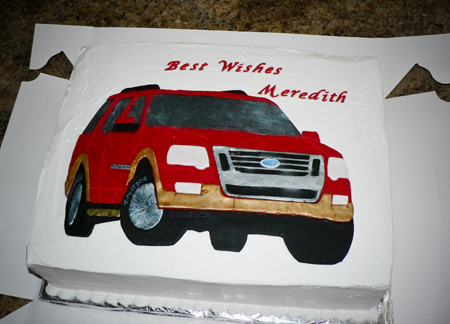
June 17, 2009

Cheese making

Today my friend and I tried our hand at making CHEESE! We started out by making Mozzarella! We tried two different recipes. Mine was a "20 min mozzarella" that took a few hours! But hers was a few hour one that totally didn't work! CRAZY! But mine turned out great!
The process of cheese from a gallon of milk was fascinating! The cheese cloth died a sad death after the cheese making. I think it's because it was a softer cheese, maybe a cheese muslin would work better. Or another 30 mins wait time, and more draining time, instead of a rush and squeeze job.
After we separated the curds into mozzarella we took the whey and made whey ricotta! Amazing that after all that we could still get more cheese out of it. For cheese making you bring it up to a certain temp, add something (in this case a vinegar) and let it react and sit creating the separation of curds and whey.
See the reaction? Look closer... The little clouds? At first we couldn't see it, but it was awesome!
Look how much we got! Since we ruined the cheese cloth (and it would have been to wide) we used a towel lined with paper towels. A cheese muslin would be perfect for this. After it drained I added a bit of salt (you could also add herbs) and it was perfect! LOVED it! I wish it had made a bit more, it wasn't enough to make anything out of. Next time I'll make some cheese ravioli out of it.

June 13, 2009

Iron Chef- Bacon and Chocoalate

Tonight was another Iron Chef. The secret ingredient was Bacon (prosciutto or panchetta was also allowed) but since Bacon isn't a great dessert item they (last month winners) choose Chocolate as well. I made my Penne Rustica (it has smoked prosciutto in it).
It's been one of our family favorites for years now. I made one HUGE mistake. I made enough for the kids to have for their dinner as well. So I mixed it all up and served them just before we left, but then the pasta sat in the sauce for over half an hour before everyone else got some and most of the creamy sauce was absorbed. If I had only mixed a bit for the kids and waited to mix the rest until right before there would have been more sauce and I think it would have gone over better.
There was a bacon dip, a chicken stuffed with bacon, bacon wrapped asparagus, bacon rice (two different dishes), salad with bacon and then chocolate pie, mud pie, cream puffs, my BEST EVER chocolate Ice Cream as well as an eclair dish that I forgot to get a picture of!
The winner was a bacon pasta dish that was VERY similar to mine, but had a lot more sauce left... GRRRRR I think I might have had it but for that one mistake!
Since we're moving next month this was our last one to attend. I'm sad, and totally going to miss it. So wherever we end up moving I'm totally going to start one! I've LOVED it! Thanks everyone, I can't wait to get the cookbook at the end of the year!

June 12, 2009

Cream of Mushroom soup

This week we decided to try to find a good cream of mushroom soup recipe. Not because we're into mushroom soup, actually neither of us are into mushrooms, but because we want a substitute for the canned stuff, for gravy's and casseroles.
chopped button mushrooms for homemade soup
We made two different recipes, but they both called for a while lot of button mushrooms. My recipe called for chopped, while she was able to use food processor on her mushrooms.
mushrooms simmering homemade soup
Mine started with a creamy sauce with leeks and other veggies. Simmered for 45 mins and FINALLY add the mushrooms.
cream of mushroom soup start
The mushrooms were barely cooked and while the soup had a great flavor it wasn't mushroom. Certainly not a substitute for the canned stuff. It was too chunky for me, so we ground it up in the blender, and it helped get it closer to what we were looking for but not perfect.
cream of mushroom soup bad
This recipe was completely opposite. It started with the mushrooms, dry, simmering until it created it's own juice. It was amazing how much juice it created..
mushrooms simmering homemade soup
See? Once it got to this point THEN the cream and stuff was added. It was a great substitute, JUST the right flavor, but the chunks were too much, so we ran it through the blender and voila! PERFECT! It could have been a bit thicker, either simmering longer, or maybe draining some of the juice before adding the cream and stuff. I'm not sure, add some other thickener maybe. But it was great, and I'm looking forward to using it next time I make my pork chops!
cream of mushroom soup homemade good
Cream of Mushroom Soup
serves 4
1 lbs white mushrooms
1 Tbsp lemon juice
1 Tbsp butter
2 Tbsp minced shallots
1 Tbsp chopped fresh thyme
1 tsp salt
1/2 tsp pepper
2 C cream
1 1/2 C chicken stock
1 tsp cornstarch, dissolved in 1 Tbsp water
In a food processor coarsely chop mushrooms and lemon juice. Melt butter in sauce pan and lightly saute shallots on med heat. Add mushrooms, thyme and bay leaf. Saute over low/med heat for 10-15 mins, until the liquid that is released from the mushrooms disappears. Add salt, pepper, cream and chicken stock, bring to a boil. Reduce heat and simmer for 20 mins. Add cornstarch and simmer another 10 mins, stirring constantly, add more seasonings and lemon juice to taste.

June 09, 2009

Yogurt

We go through a lot of yogurt at our house, a LOT, so for Christmas I got my husband a yogurt maker. We, of course, hadn't tried it yet. So finally I got around to it.
cooked milk for making homemade yogurt
First you have to heat the milk, then let it cool, add some yogurt, or other starter and then put it into the yogurt maker for 4-8 hours. Voila! Plain yogurt! It was easy, tastes good, and I can't wait to try it again!
yogurt machine homemade