


 So it's the last day of the month and I just HAD to make the Brulee! It was a great experiment, I've always had hit and miss luck with custard bases. And this was no exception, I ended up making a second batch because I ruined my first one. AND the first time around I made plain chocolate brulee, and the second time I added a bit of peppermint and used crushed candy cane on top! I really liked the effect. But in the end using the broiler to caramelize the top just didn't work out, and if I was going to make this a dessert staple I'd have to invest in a brulee torch.
Chocolate Crème Brulee
makes four 4 oz ramekins
 1 1/4 cups heavy cream
1 vanilla bean
4 ounces dark chocolate, chopped (I used bittersweet)
4 egg yolks
1 tablespoon sugar
4 to 6 tablespoons cane sugar, for topping
Preheat the oven to 300 degrees F.
Mix the cream and vanilla bean together in a double boiler. Heat the mixture for 10 to 15 minutes and stir in the chocolate. Remove the vanilla bean.
 Whisk the egg yolks and sugar together in a mixing bowl. Slowly pour the chocolate cream into the egg mix, continuously whisking. Place the bowl over simmering water until the cream mix thickens and coats the back of a spoon, about 6 to 8 minutes. Pour into 4 (4-ounce) custard dishes. Place in a large baking pan and add enough water to come up halfway up the sides of the cups. Bake until the custard is set, about 1 hour. Remove from the water and cool. Cover and refrigerate. Sprinkle 1 tablespoon of sugar on top of each one and with a brulee torch, caramelize the top and serve.
 Whisk the egg yolks and sugar together in a mixing bowl. Slowly pour the chocolate cream into the egg mix, continuously whisking. Place the bowl over simmering water until the cream mix thickens and coats the back of a spoon, about 6 to 8 minutes. Pour into 4 (4-ounce) custard dishes. Place in a large baking pan and add enough water to come up halfway up the sides of the cups. Bake until the custard is set, about 1 hour. Remove from the water and cool. Cover and refrigerate. Sprinkle 1 tablespoon of sugar on top of each one and with a brulee torch, caramelize the top and serve.
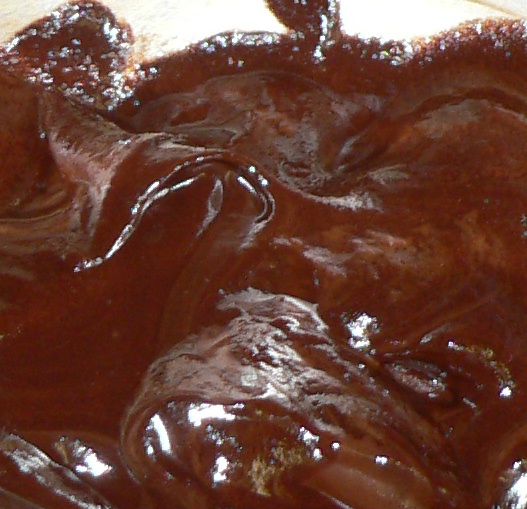
 So it was going just fine until hit the stage of thickening the chocolate and egg mixture. At about 5 mins I thought "oh, it's perfect, I should take it off the heat now" but didn't because the recipe said 6-8 mins, and maybe just maybe I was wrong and it got thicker or better somehow. BUT I should have listened to my instincts. On the Left is the first batch at 6 mins and on the right is the second batch at 5 mins. Obviously a mins makes a huge difference. Make sure you take it off the heat as soon as it looks like thick pudding.


Also make sure you pour it into the ramekins quickly, and keep stirring. The bowl is still very hot and cooking. The last bit of my 2nd batch actually overcooked and I couldn't use it. You can see on the left the over cooked batch started to separate, and on the right the undercooked batch looks creamy!


Here they are after baking, the left batch kept curdling, even burning and the right batch kept up nicely. I actually only cooked the 2nd batch for 50 mins, and it was done.


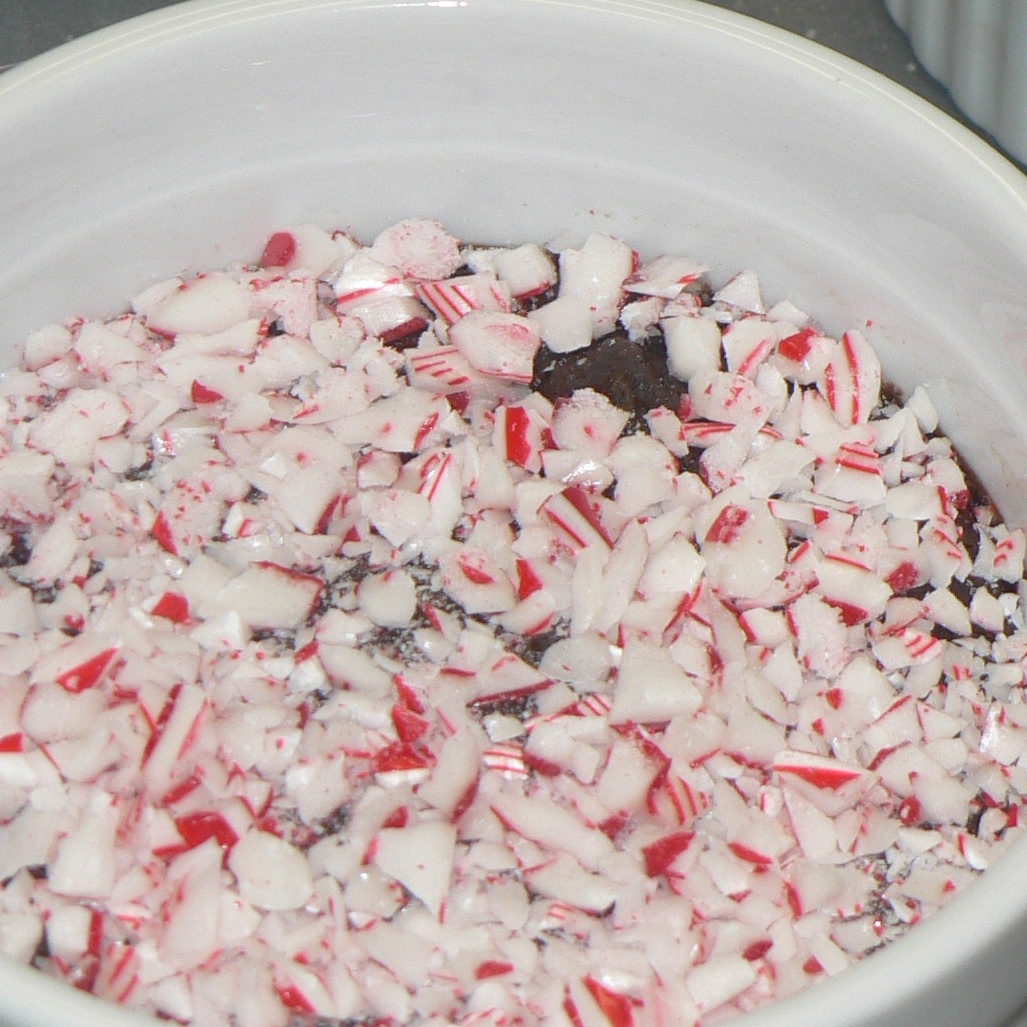
After the cooking and refrigerating I covered 2 of the 2nd batch with crushed candy cane and 2 of the 2nd batch with regular cane sugar.


And while they cooked and crusted over, they didn't actually caramelize. The Candy cane was actually more successful than the regular sugar. The other problem is it heated the whole custard, and it wasn't as good as if the custard had stayed chilled while the top was crusted and caramelized.


Here they are after baking, the left batch kept curdling, even burning and the right batch kept up nicely. I actually only cooked the 2nd batch for 50 mins, and it was done.


After the cooking and refrigerating I covered 2 of the 2nd batch with crushed candy cane and 2 of the 2nd batch with regular cane sugar.

And while they cooked and crusted over, they didn't actually caramelize. The Candy cane was actually more successful than the regular sugar. The other problem is it heated the whole custard, and it wasn't as good as if the custard had stayed chilled while the top was crusted and caramelized.


